Building a DIY CNC router with 3D printed parts
Building a CNC router is something I have wanted to do for a few years, but never really got to. With the DIY CNC kits being a bit too expensive for my taste and, I have to admit, I do not have really need it. However with the current situation in the world, and some extra 3D printer parts that were collecting dust, I got the inspiration to finally build a CNC router. I wanted to do things by myself as much as possible, and to do this I wanted to add a few constraints:
- Use as many 3D printed parts as possible (of course where it makes sense, and does not compromise the structure too much)
- Try to be as cheap as possible, these things can be really expensive
- Don’t use existing plans/designs, lets be creative
- Imagine the design as we go, aka no planning (this is more my own lazyness)
Of course I don’t expect a really good CNC router with all these constraints, and doing the design myself. I know next to nothing about designing something like this anyways. But it’s a good experience for building things, design, testing, and 3D printing (I bought a 3D printer for a reason, I hope). So here it is, the final result:
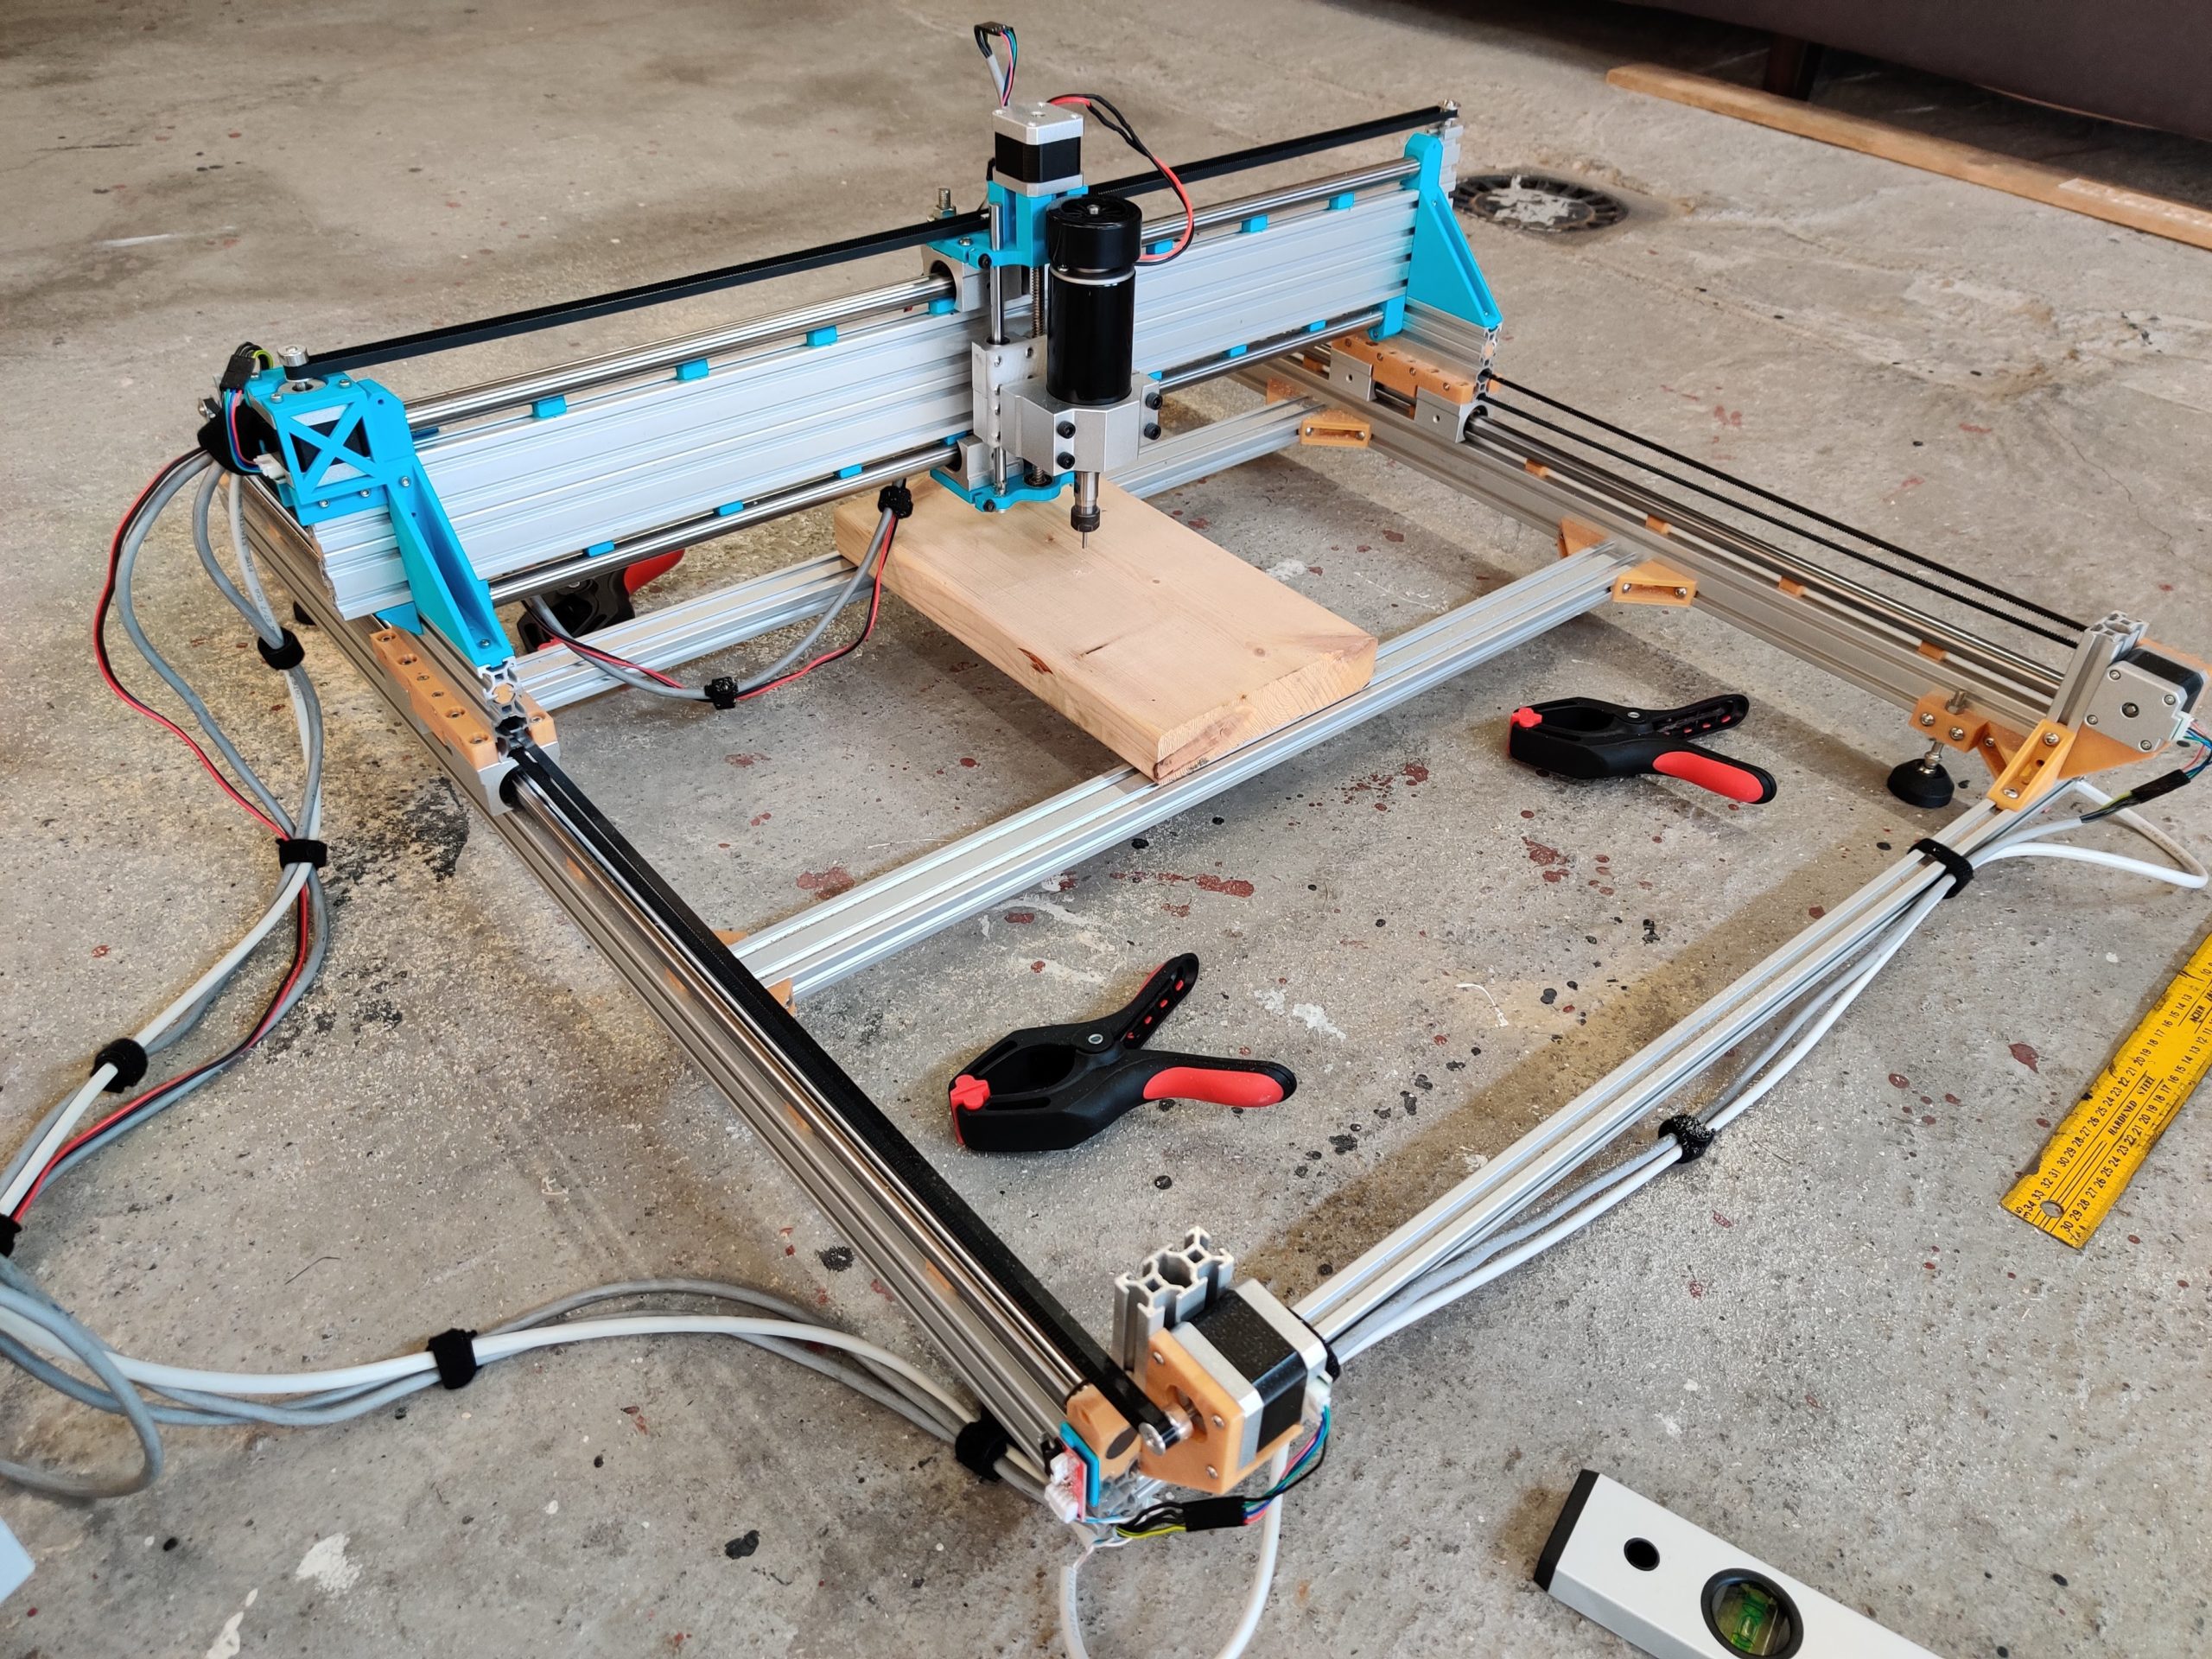
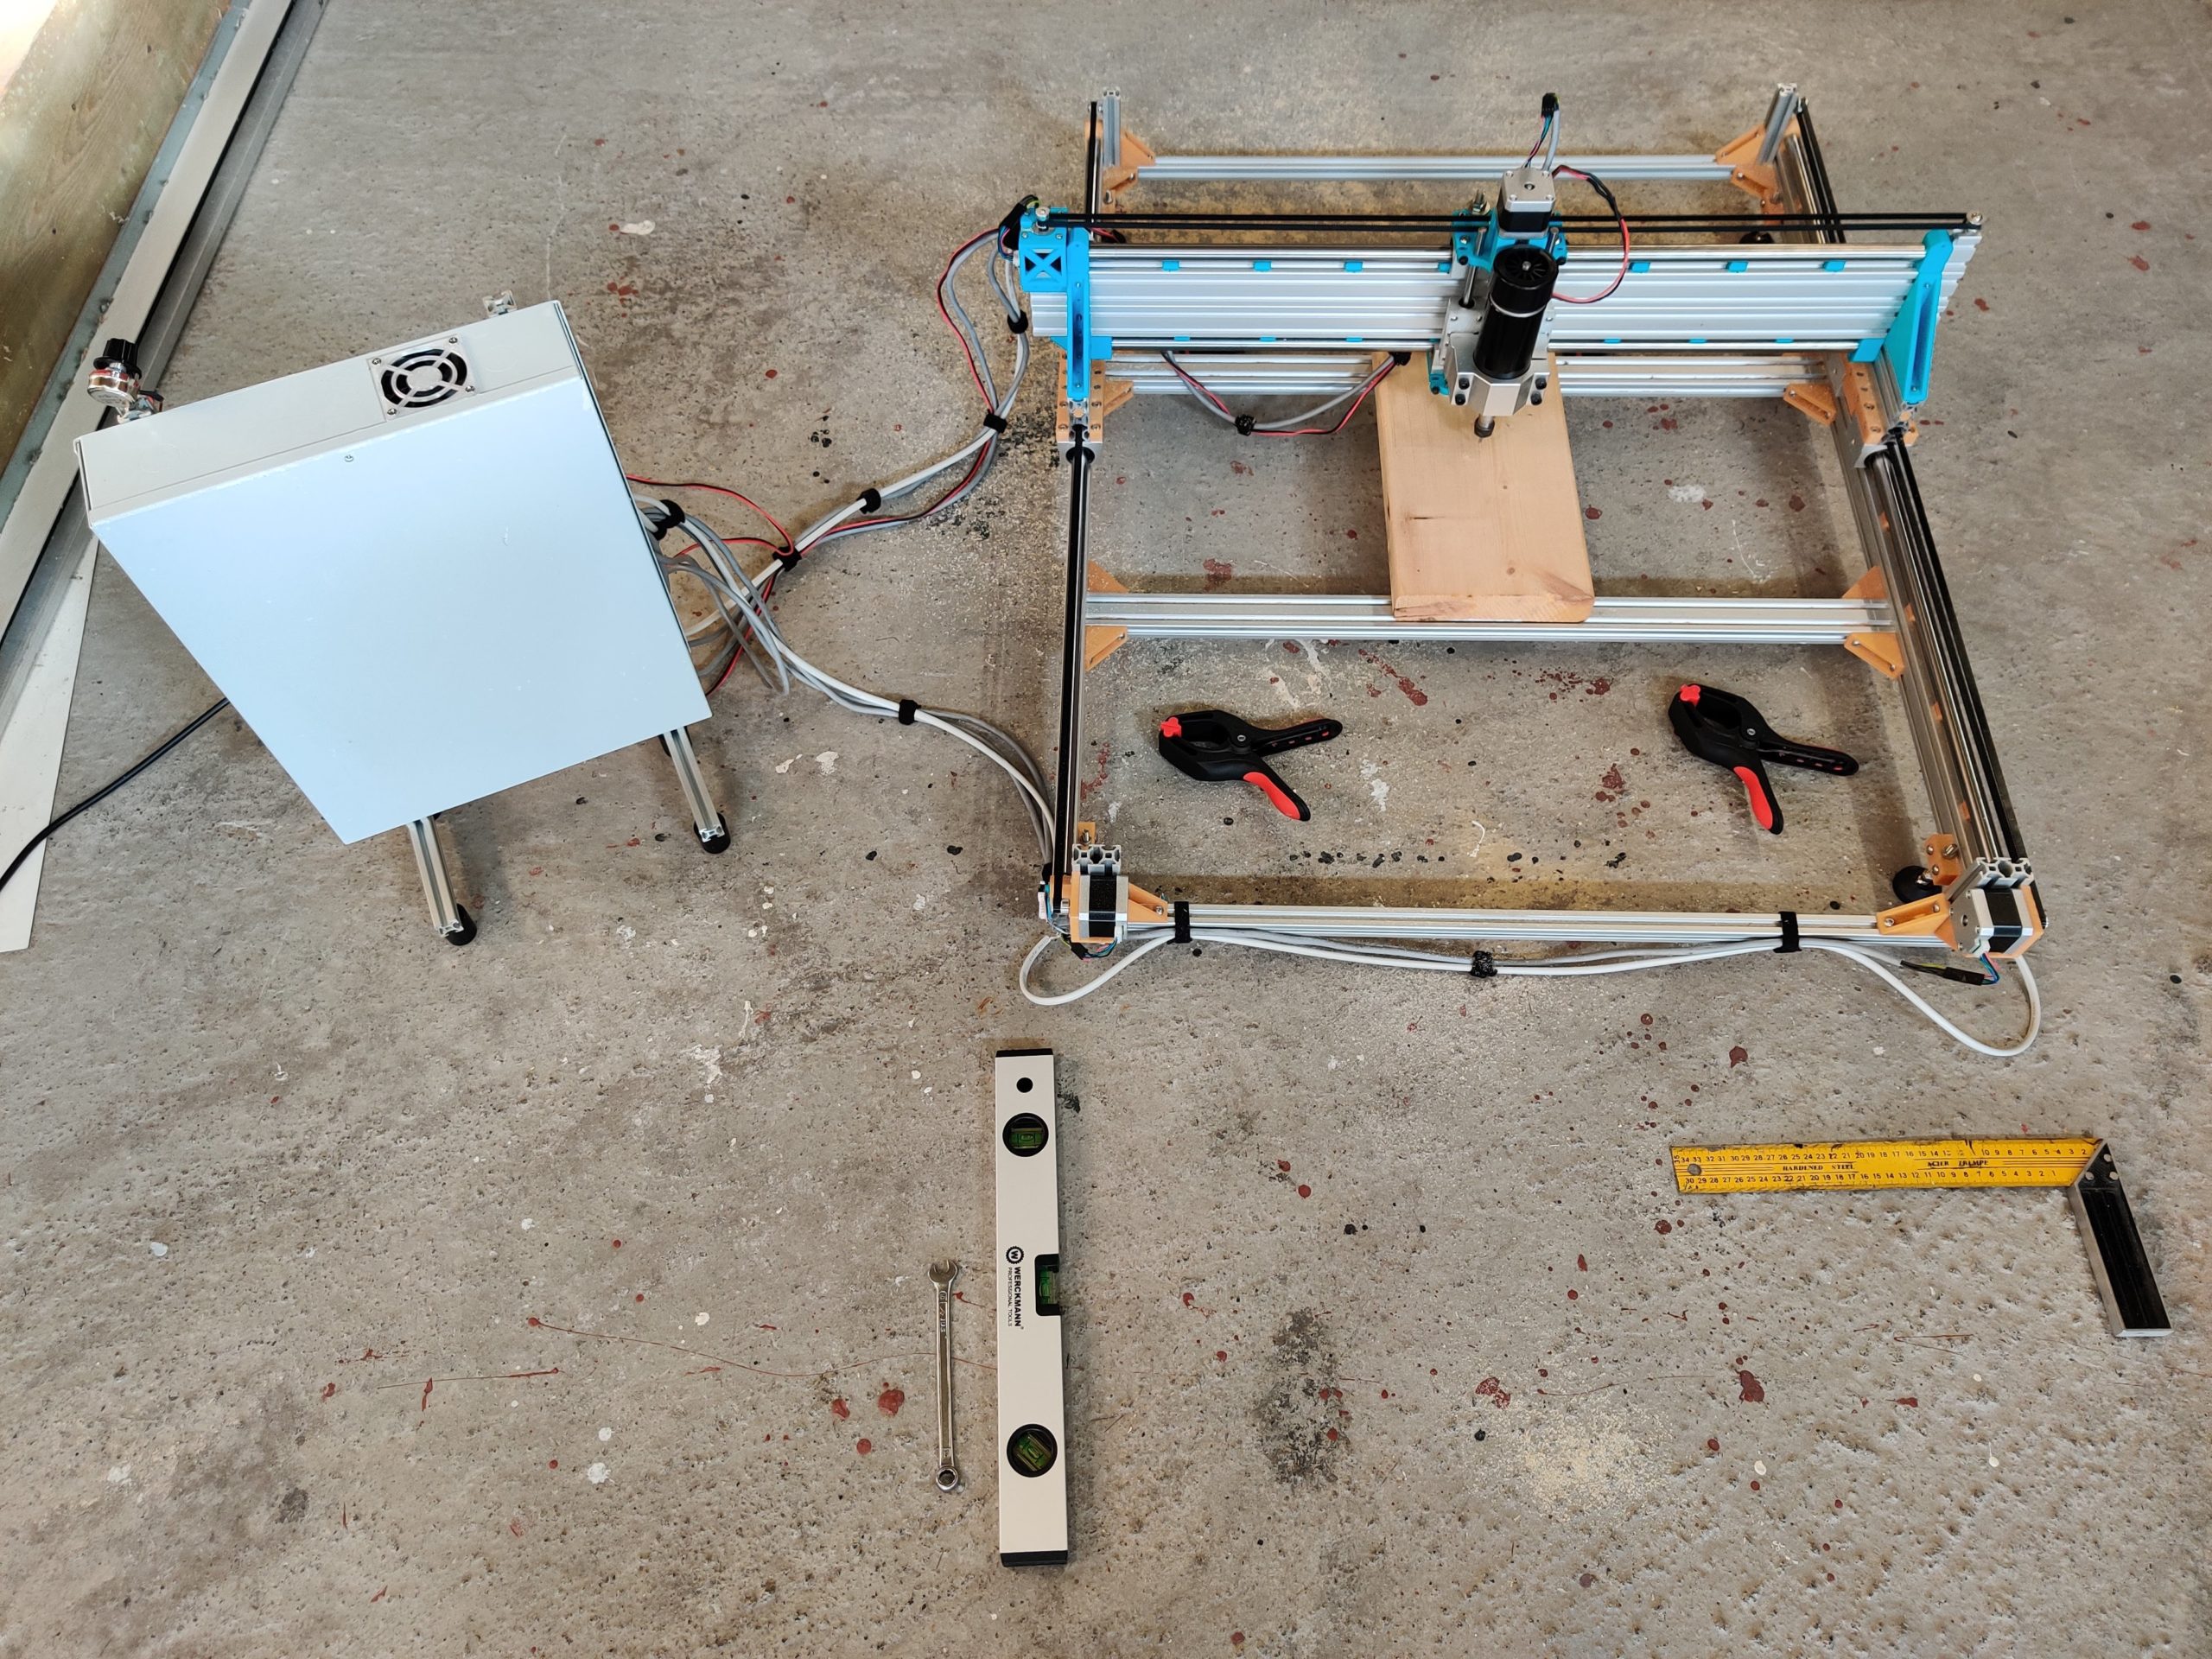 |
| DIY CNC Router, version 1 |
This is the full build of the CNC router. Using aluminium profiles as a frame and 3D printer parts to connect everything together. So far it works pretty well!
Features / specs
It’s not the strongest thing, lets be honest, but it does the job well enough for me. The NEMA 17 steppers aren’t really strong enough for high feedrates. The frame itself is okay for slow speed, but not quite strong enough for fast movements. A short overview of the specs:
- Dual Y, X, and Z motors; 1.5A NEMA 17
- Y/Y resolution: 0.01mm; Z resolution: 0.0025mm
- 500W Spindle
- Frame dimensions: 800×1000
- Milling dimensions: 600x800x60
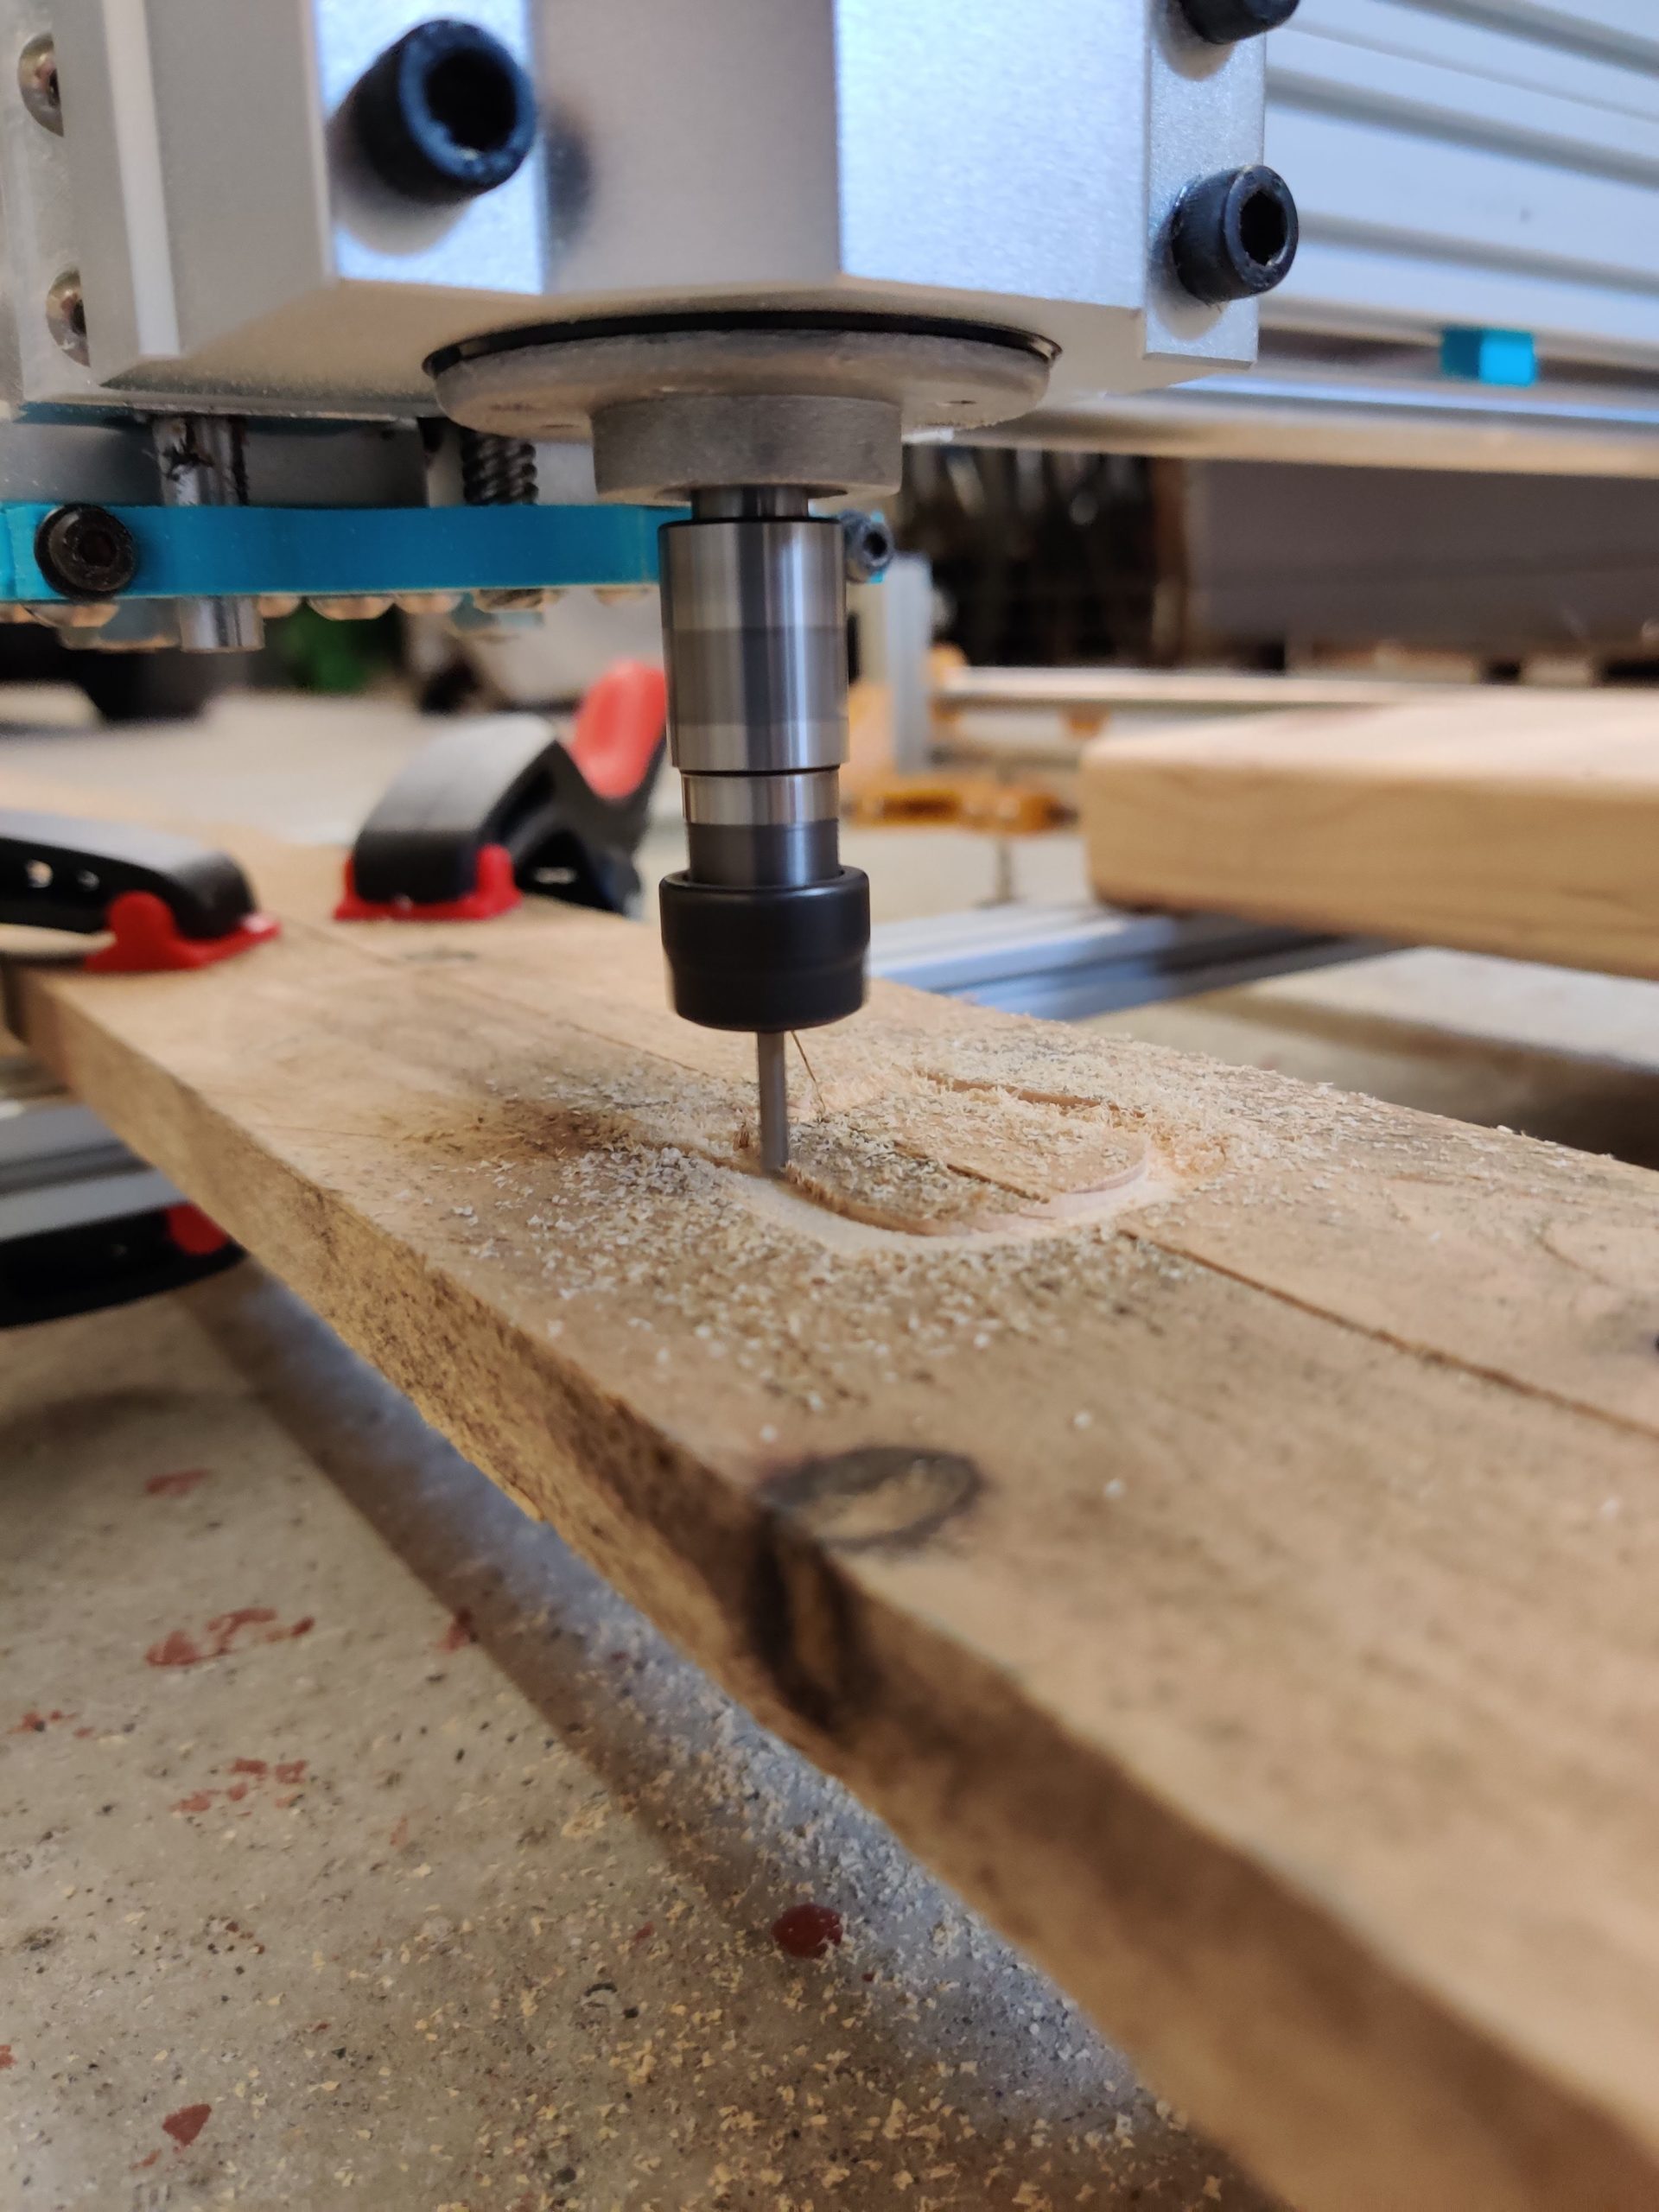
As a cost saving measure I used unsupported rails, but added 3D printed supports. This seems to work quite well. All the brackets between the aluminium profiles, motors, etc. are all 3D printed custom parts. On the X axis it would be a nice upgrade to better rails, since they flex a bit more in the Y direction.
Electronics / Software
What I thought would be the easy part :p. I’m reusing a Creality mainboard from an Ender-3 3D printer, which seems to limit a bit which firmware I can use. At first I tried klipper which is very easy to configure, but did not support some gcodes I wanted to use. In the end I’m using Marlin with a custom board and configuration.
Unfortunately it wasn’t the easiest part, getting the configuring correct required a lot more testing and debugging than expected. Overall it was working pretty well within a few evenings of work.
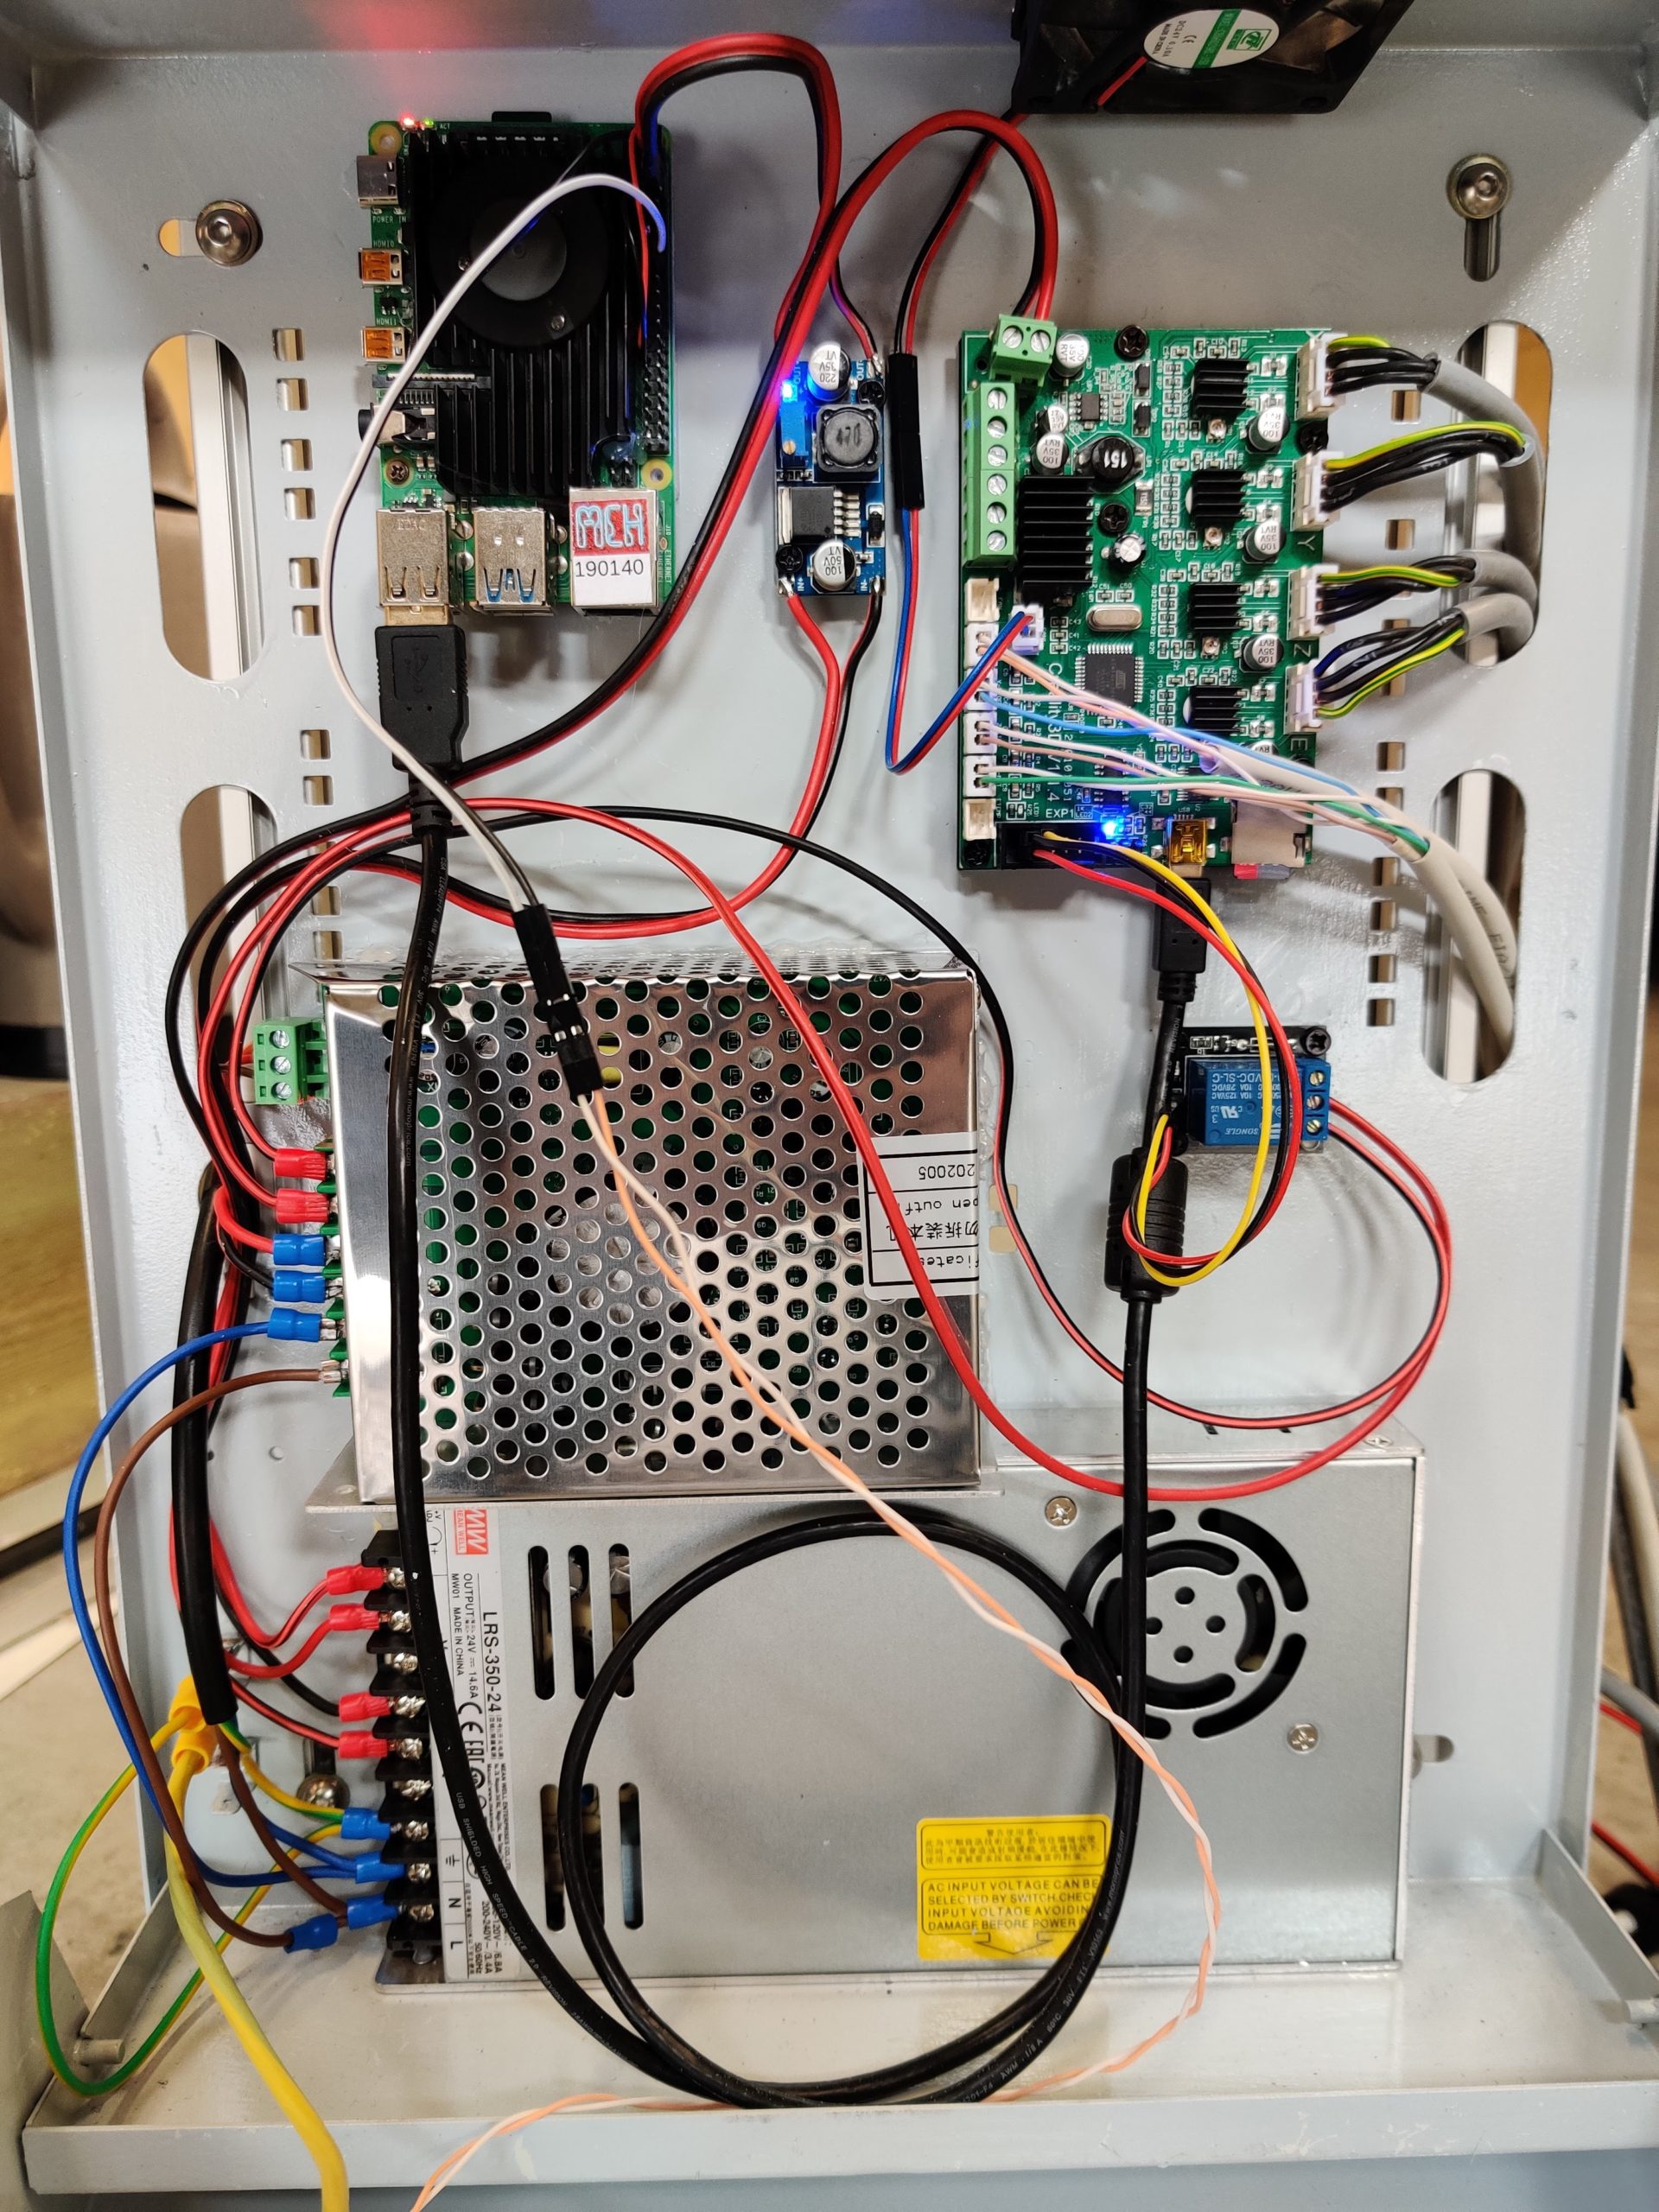 |
| Wiring and controller for CNC machine. |
As visible in the picture, a raspberry pi is used to control the router. This seemed to me like the easiest solution. I did not want to hookup any extra buttons or a display. The device runs OctoPrint to provide web based access to control the machine. I tried out cncjs, and might still switch to it since it is better suited for CNC use. A strange bug I had with both is that running gcode from the raspberry pi doesn’t work properly and stalls the machine, indicating it might be bug elsewhere (I suspect serial communication in some way). Running of the SD card with the Creality board works fine.
Conclusion
 |
 |
 |
Overall I’m quite happy with the results, and it works better than expected. The performance is good enough for my use cases at the moment. I have some things I want to improve in the future, like geared stepper motors, and a better X carriage. I started this project without knowing what I’m doing, and I did learn a lot of new things.
There isn’t a howto guide or anything, since there probably are designs that will be a lot better in every way on the internet. However the modified marlin code, and OpenSCAD drawings are available on github.
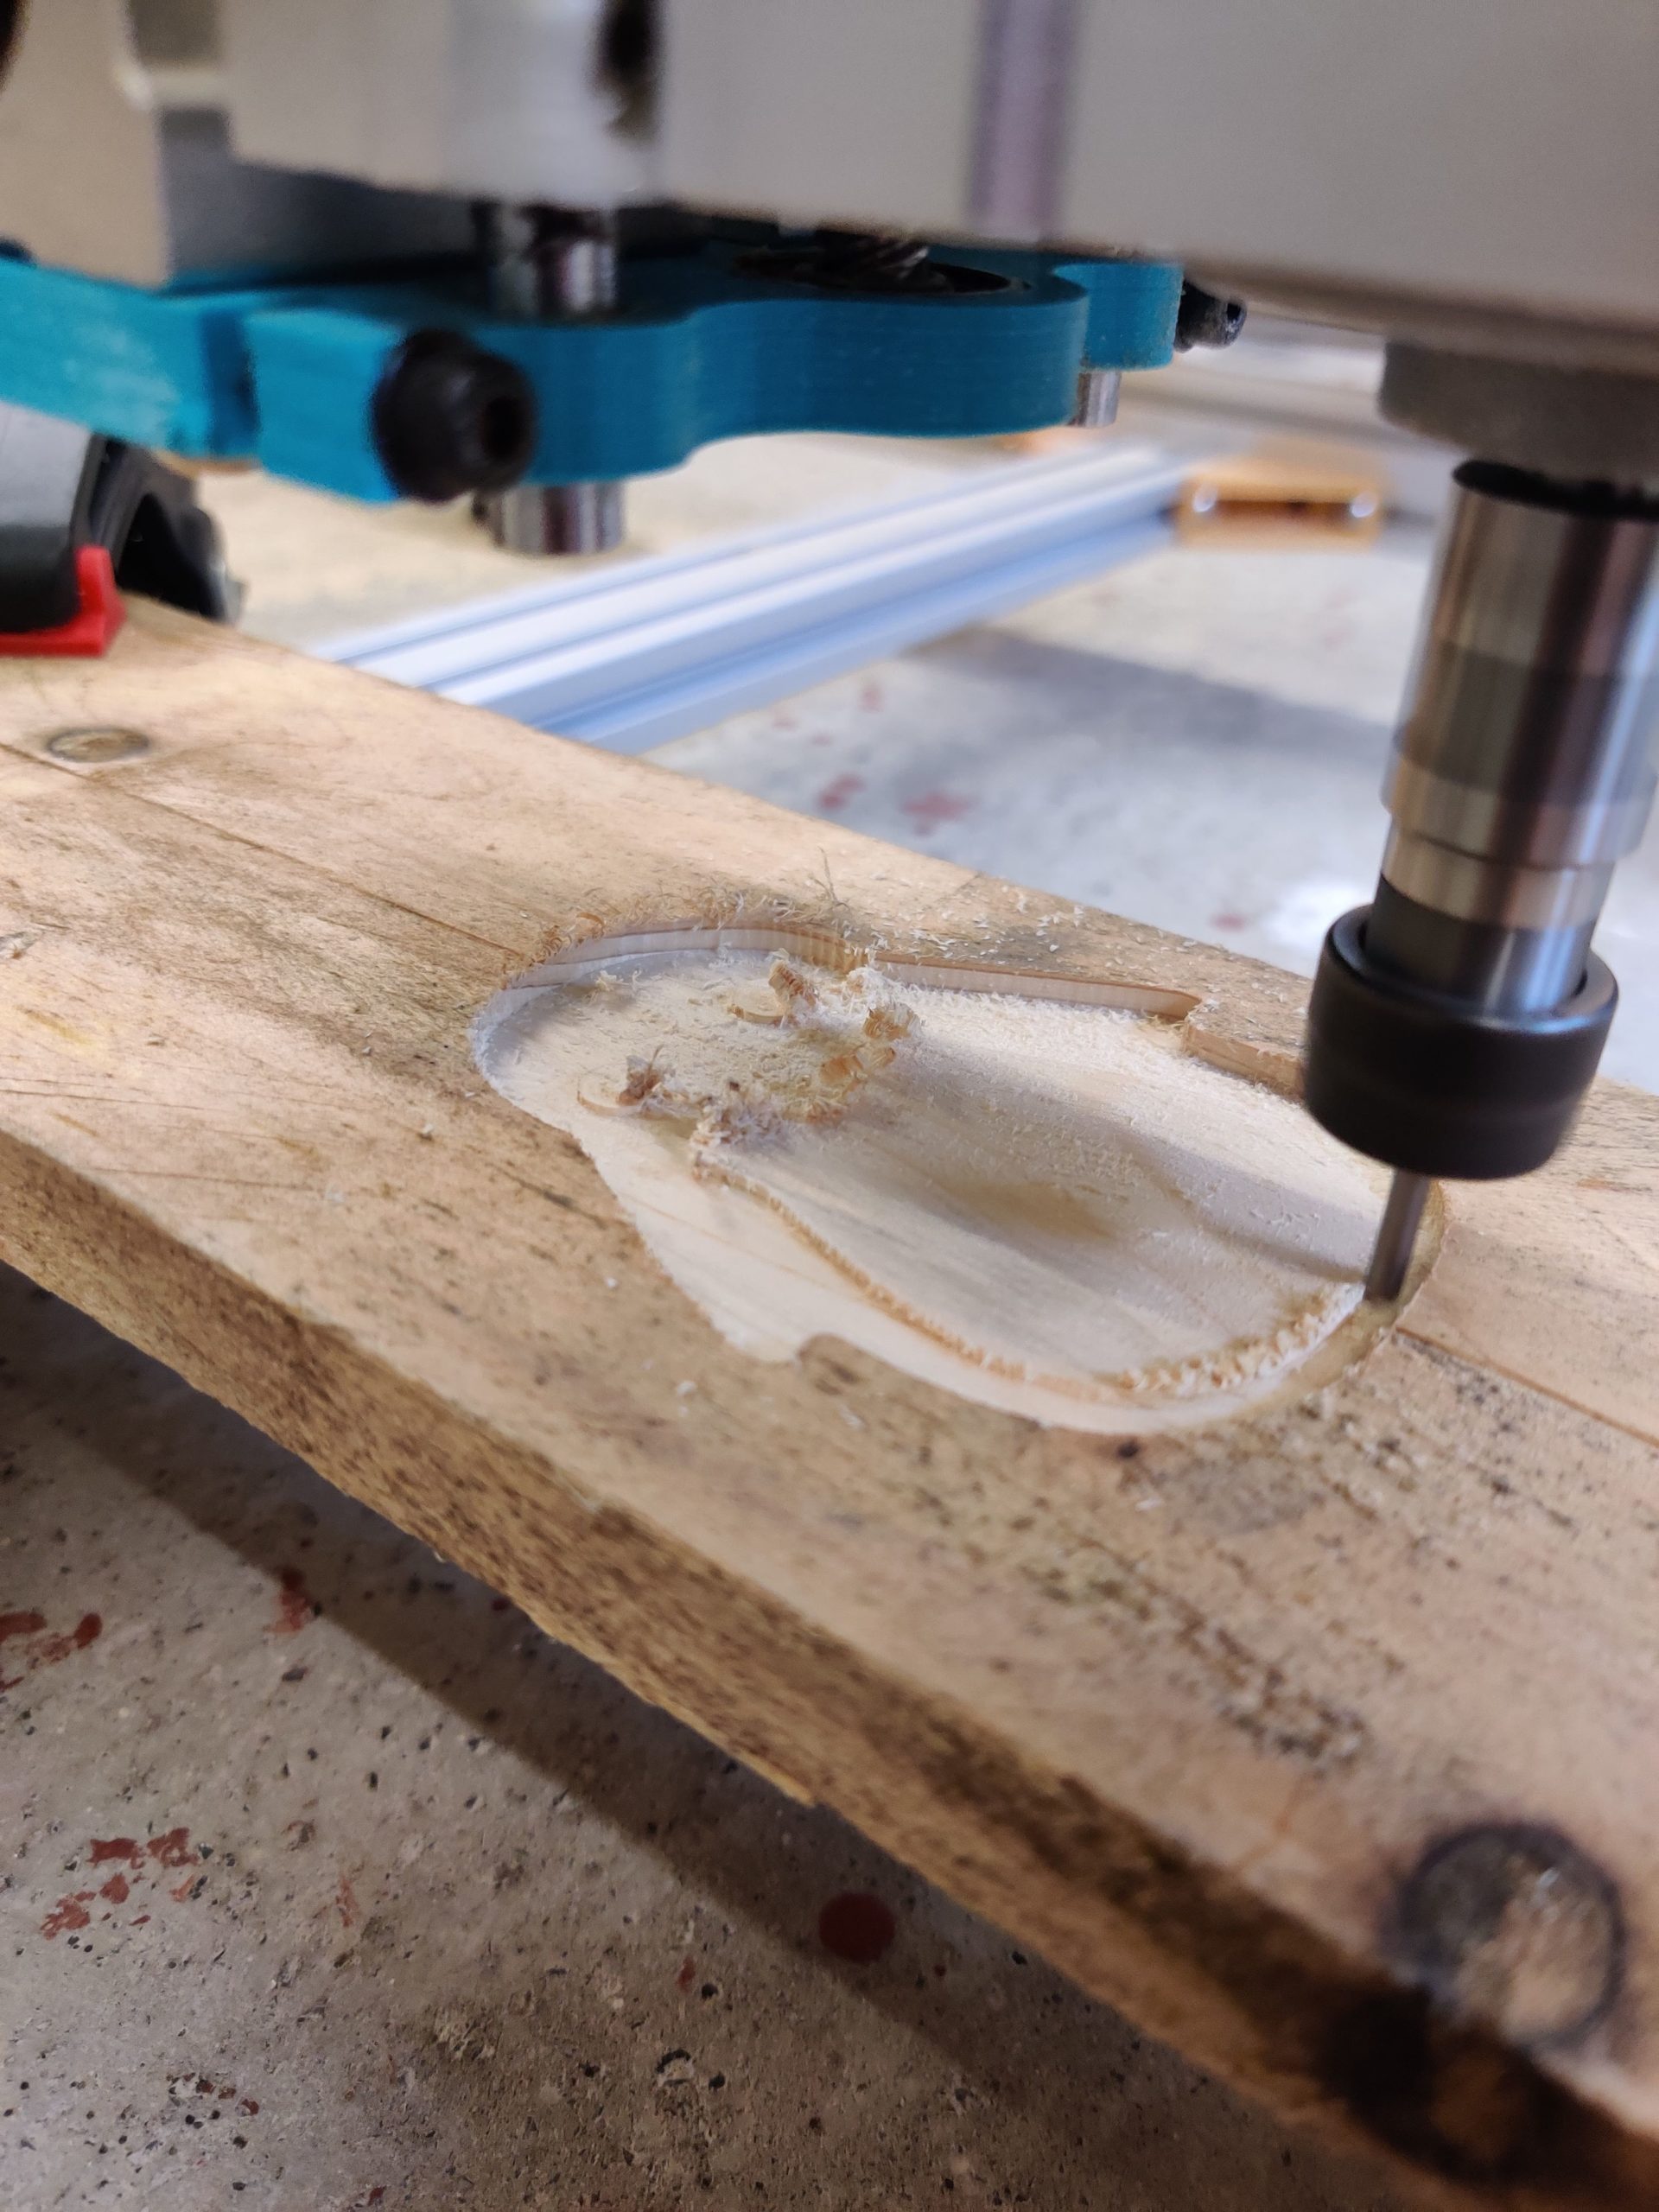
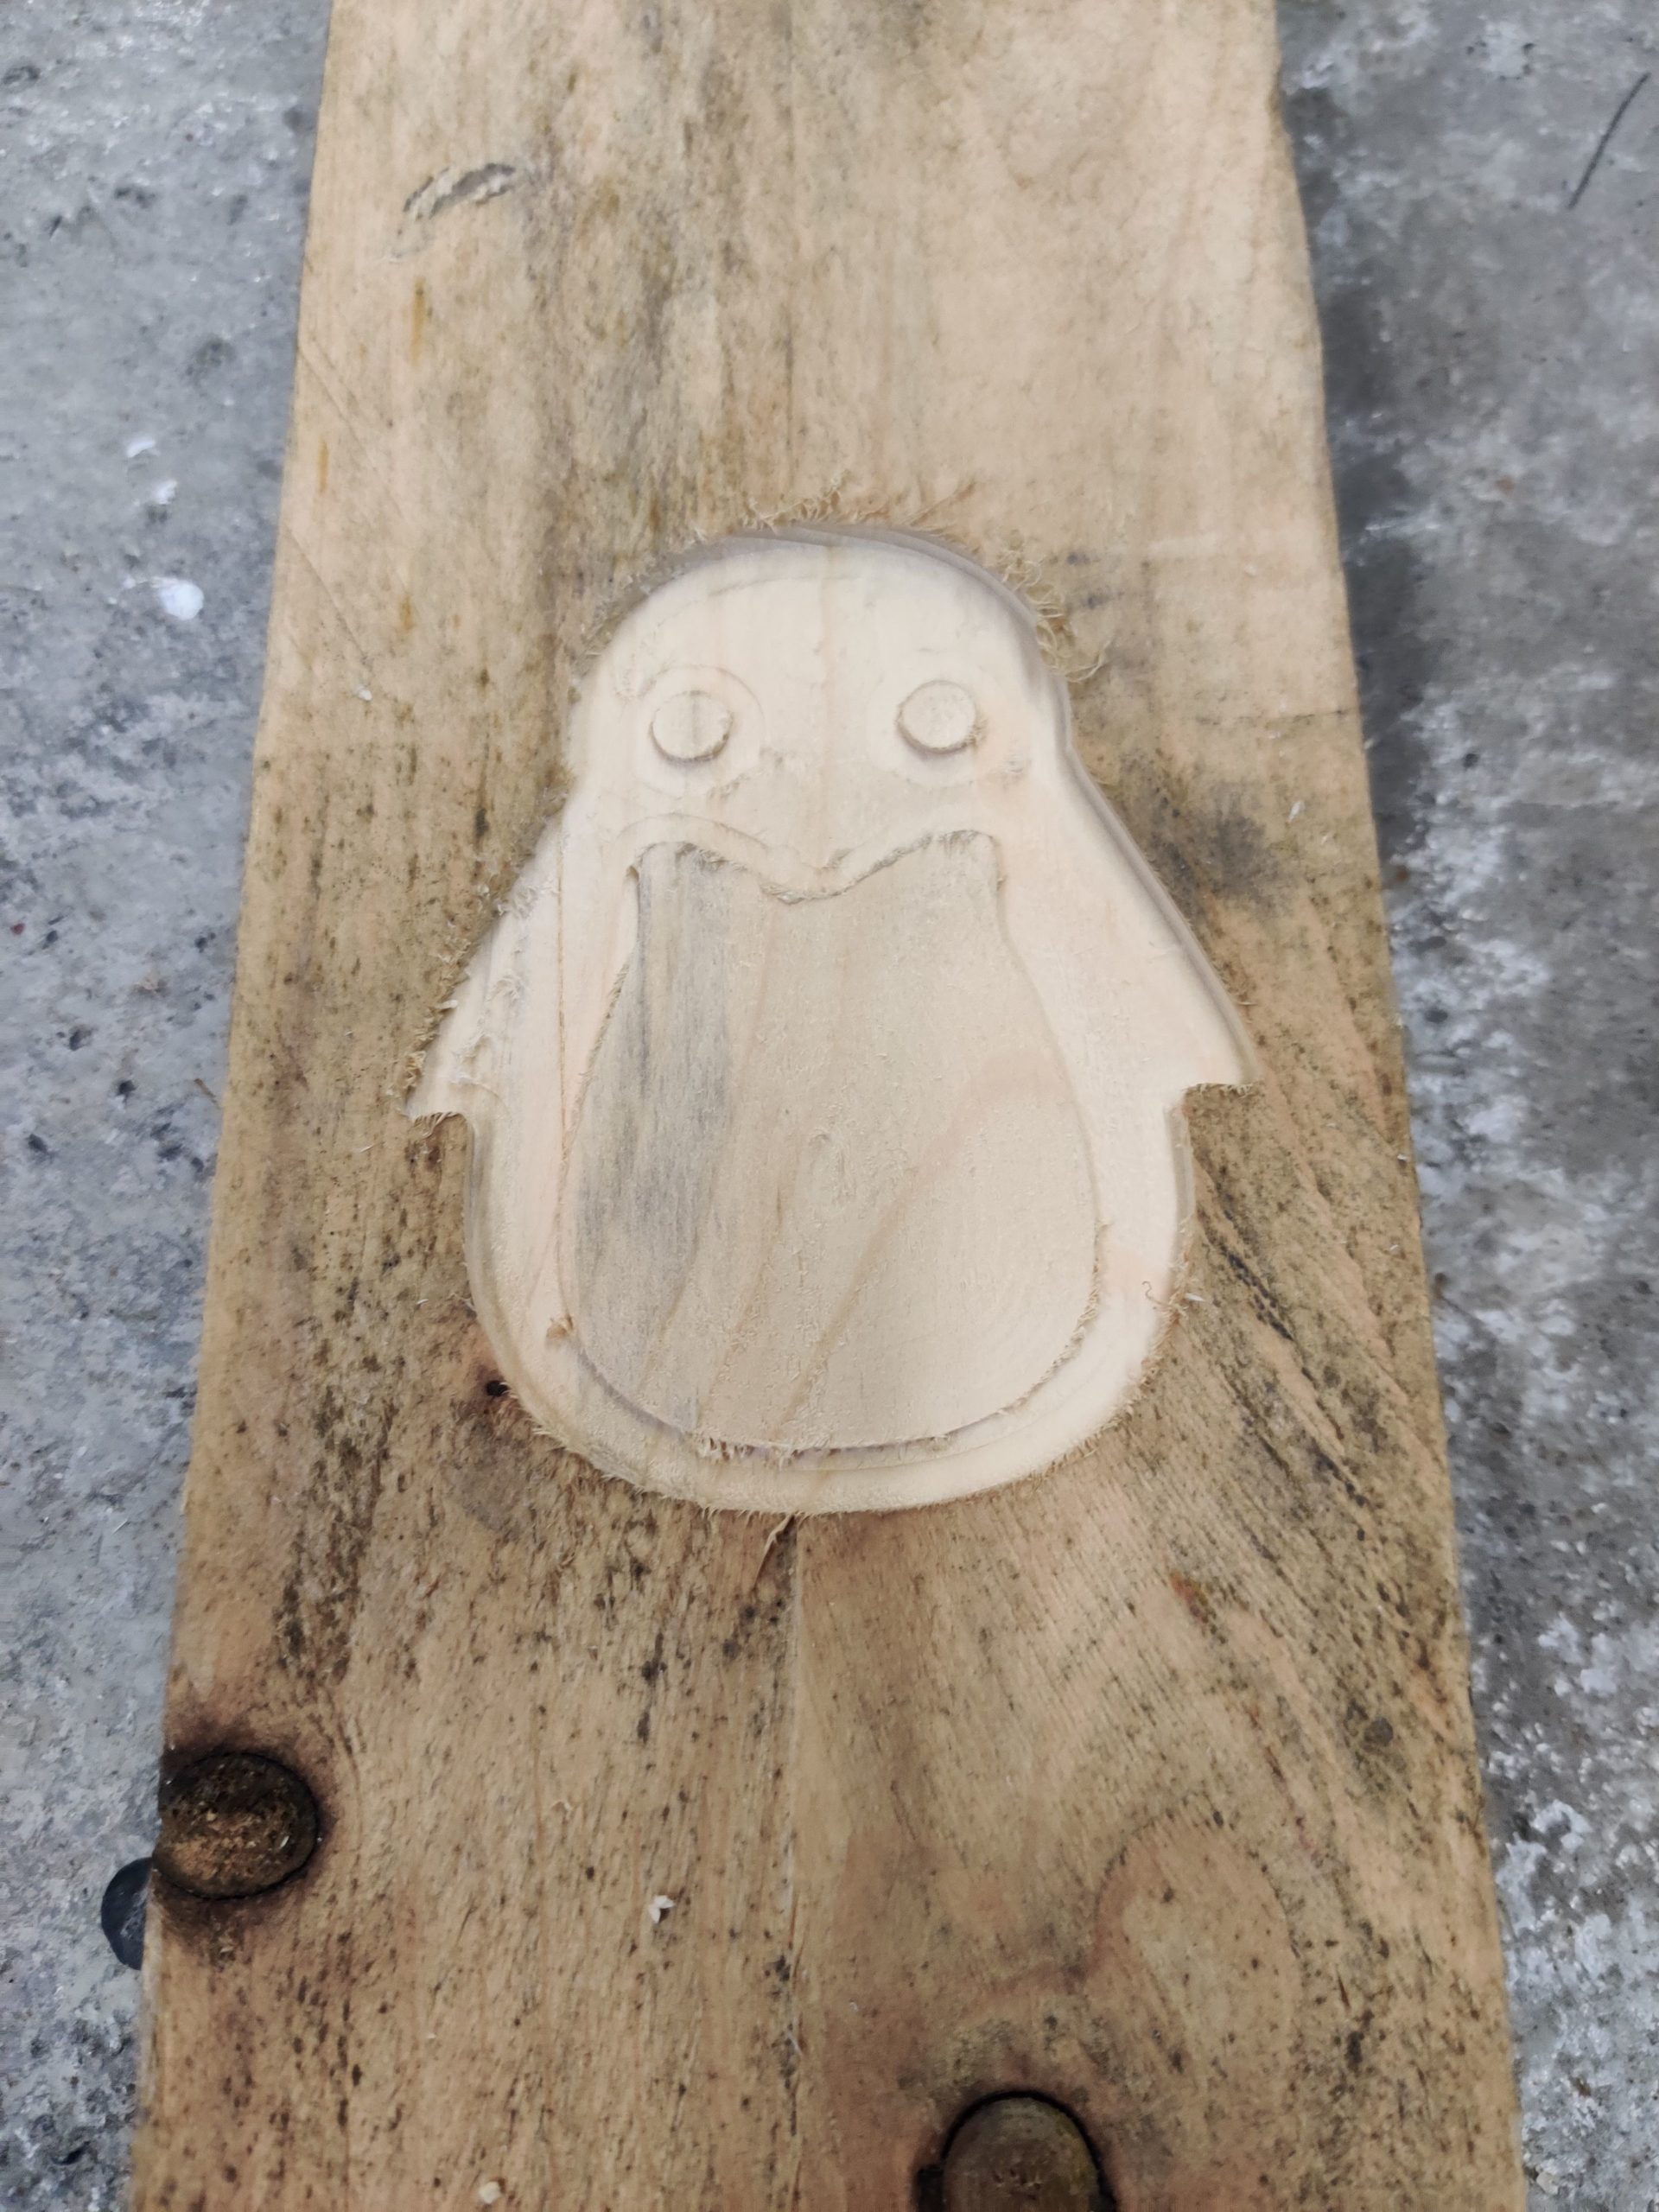
Finally we used this machine for a bench we are making as a present for my grandparents with their names engraved in the wood.
 |